
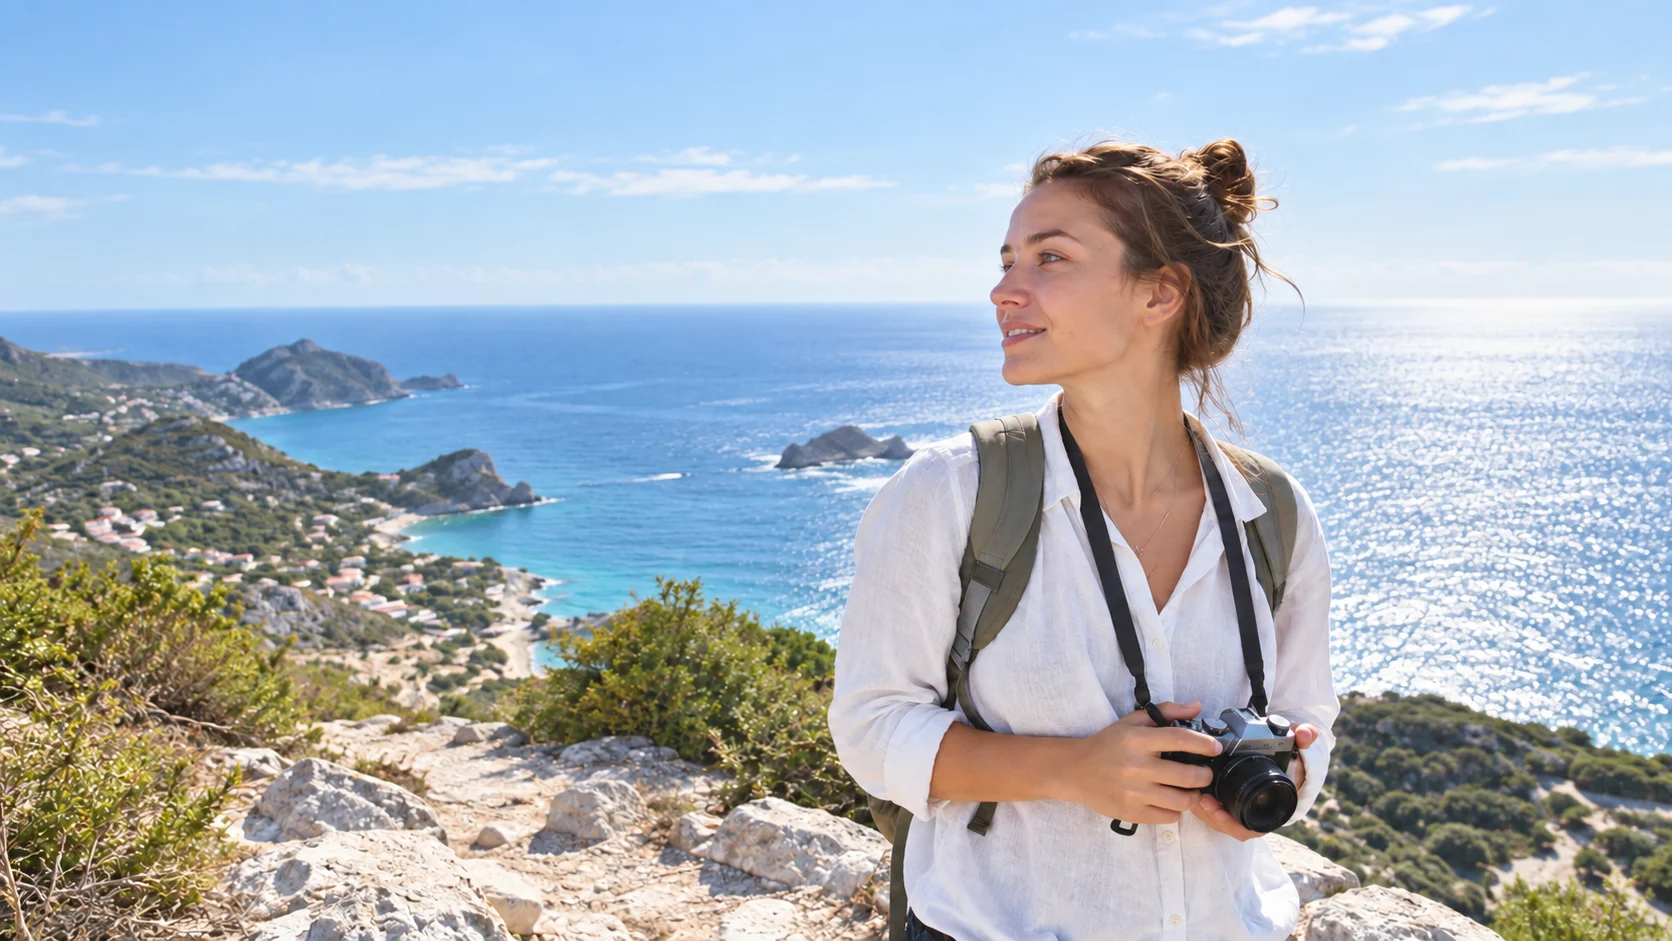
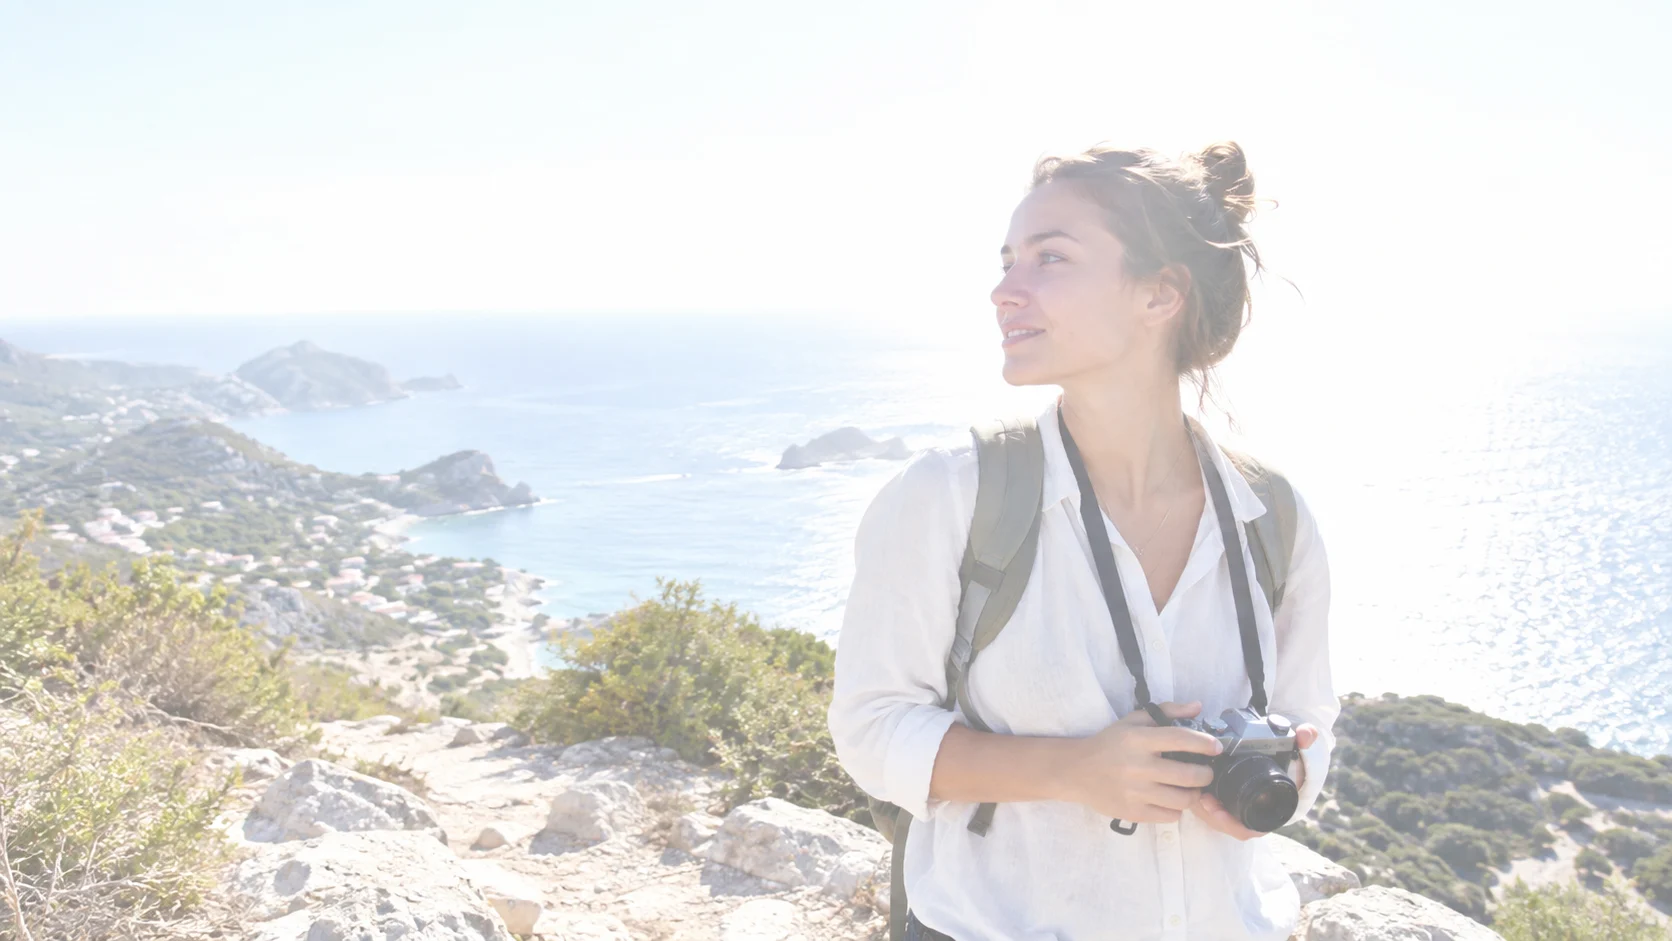
Recover blown-out highlights and restore natural detail with FixOverexposed AI. Upload once, compare the result with your original, and download only when it looks right.
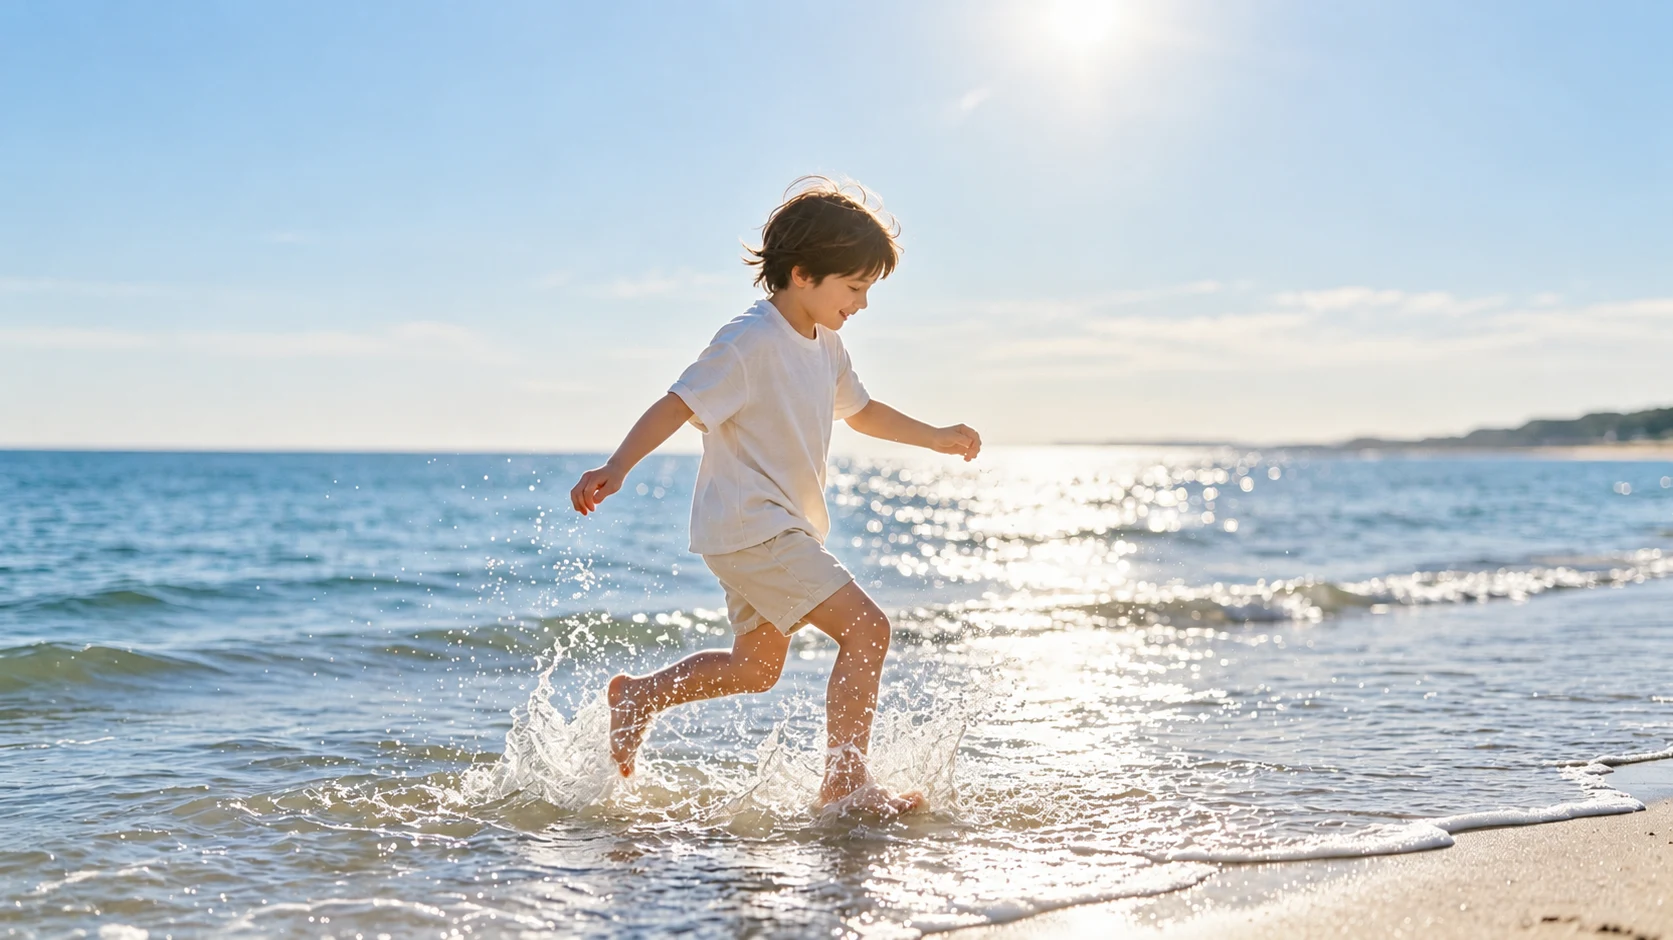
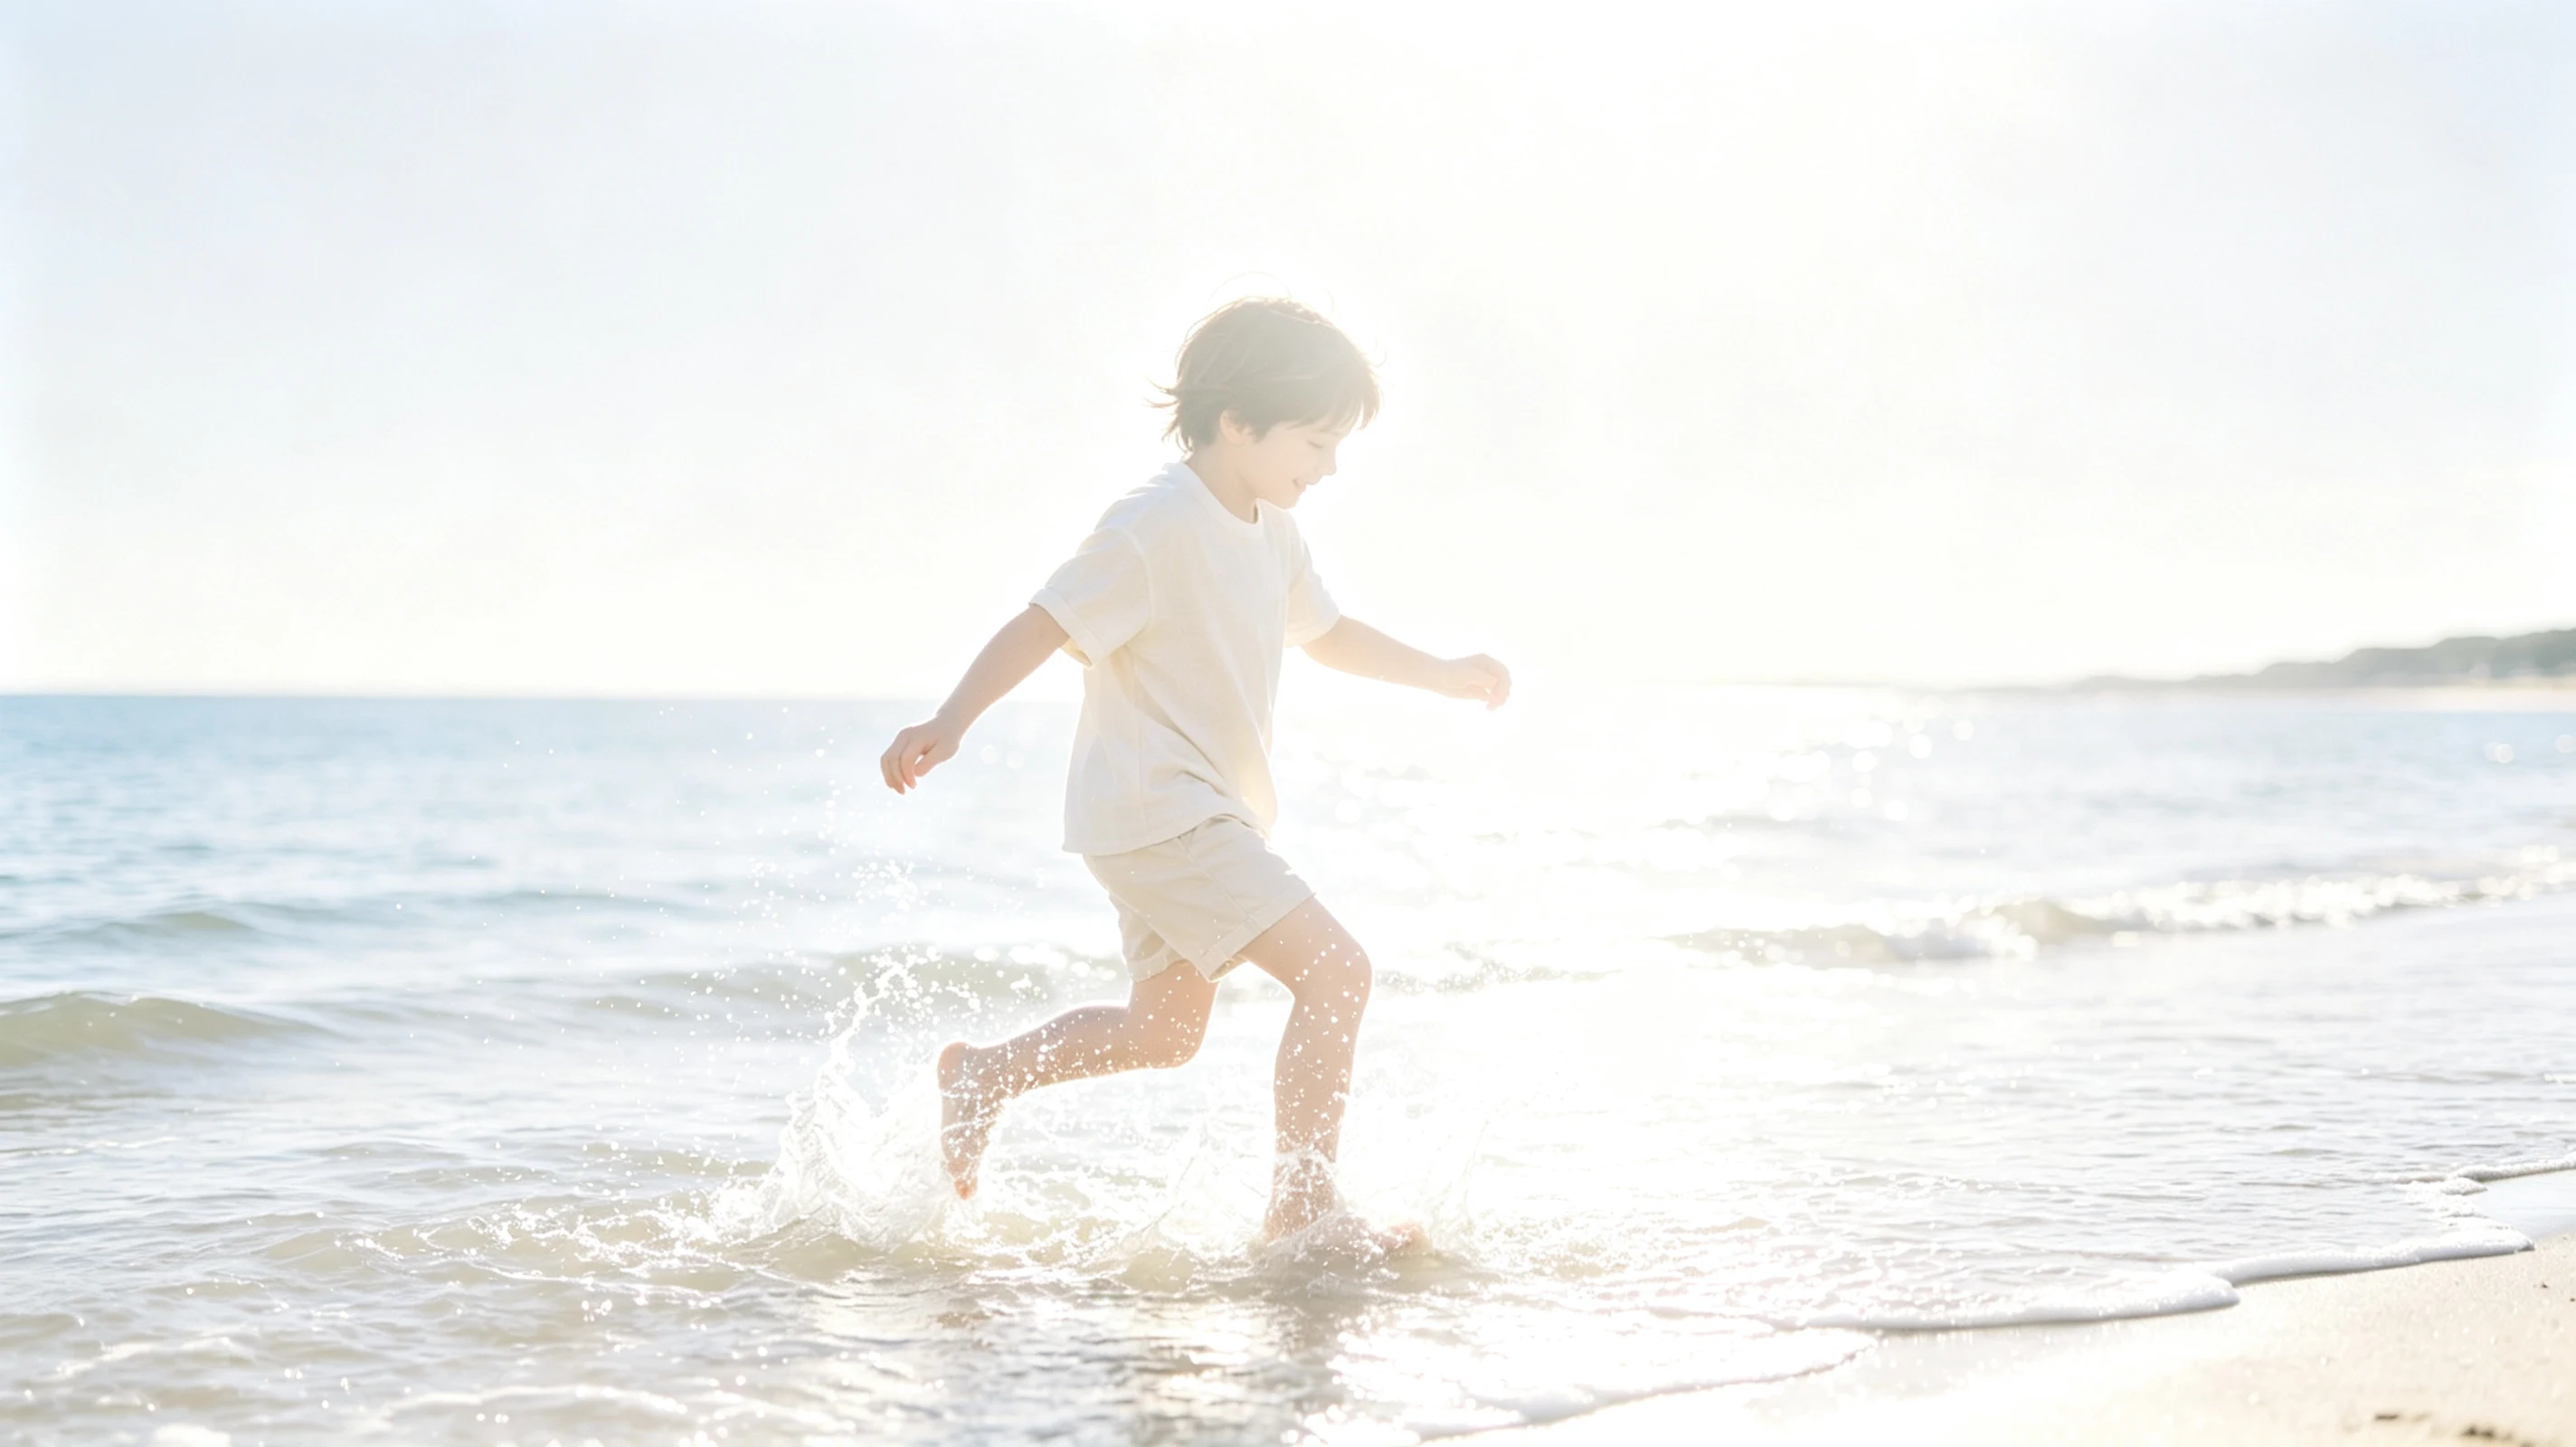
See how FixOverexposed AI helps with the bright moments people actually capture: travel portraits, pets, food, celebrations, and landscapes. Compare the original with the corrected photo before you try the tool yourself.
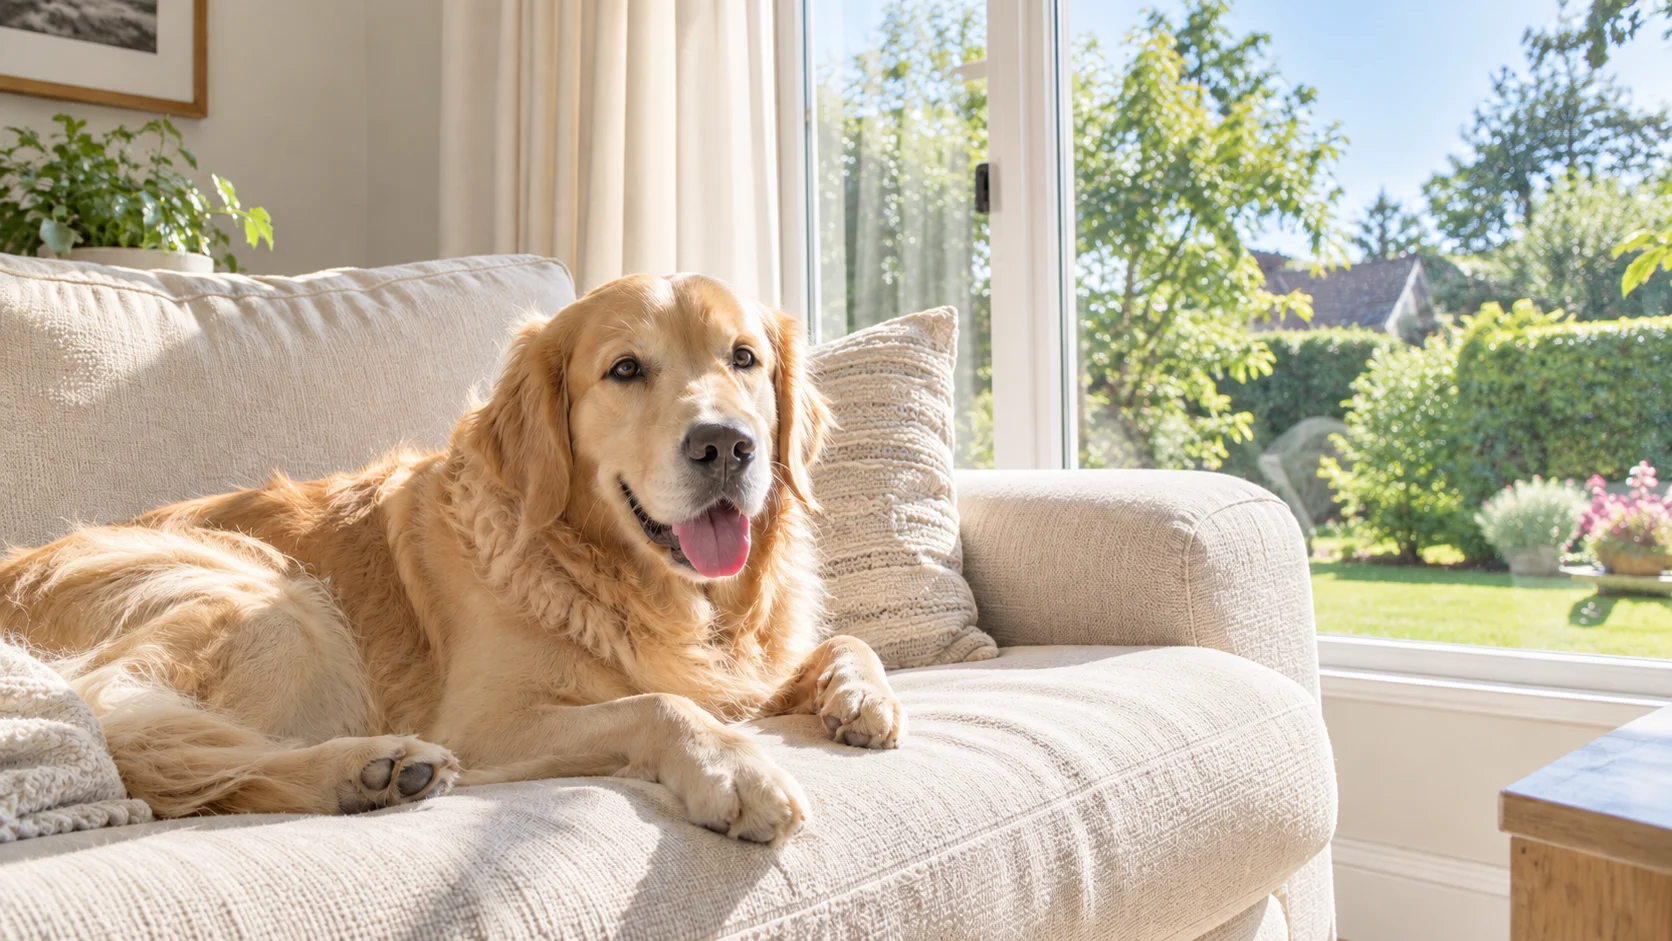
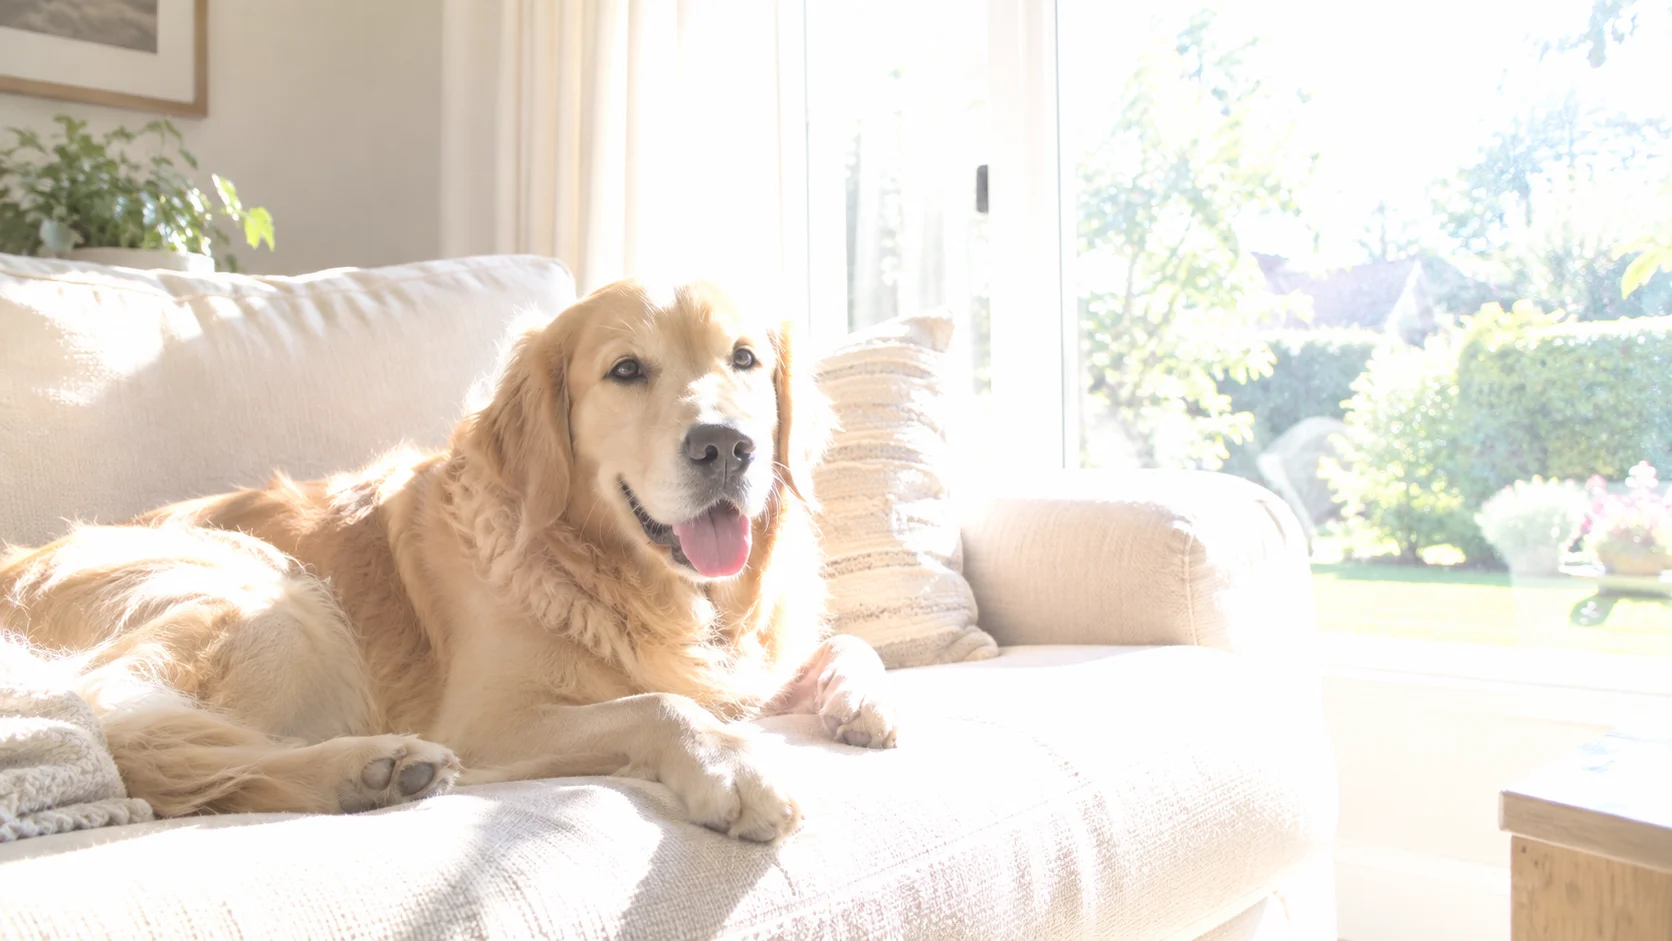
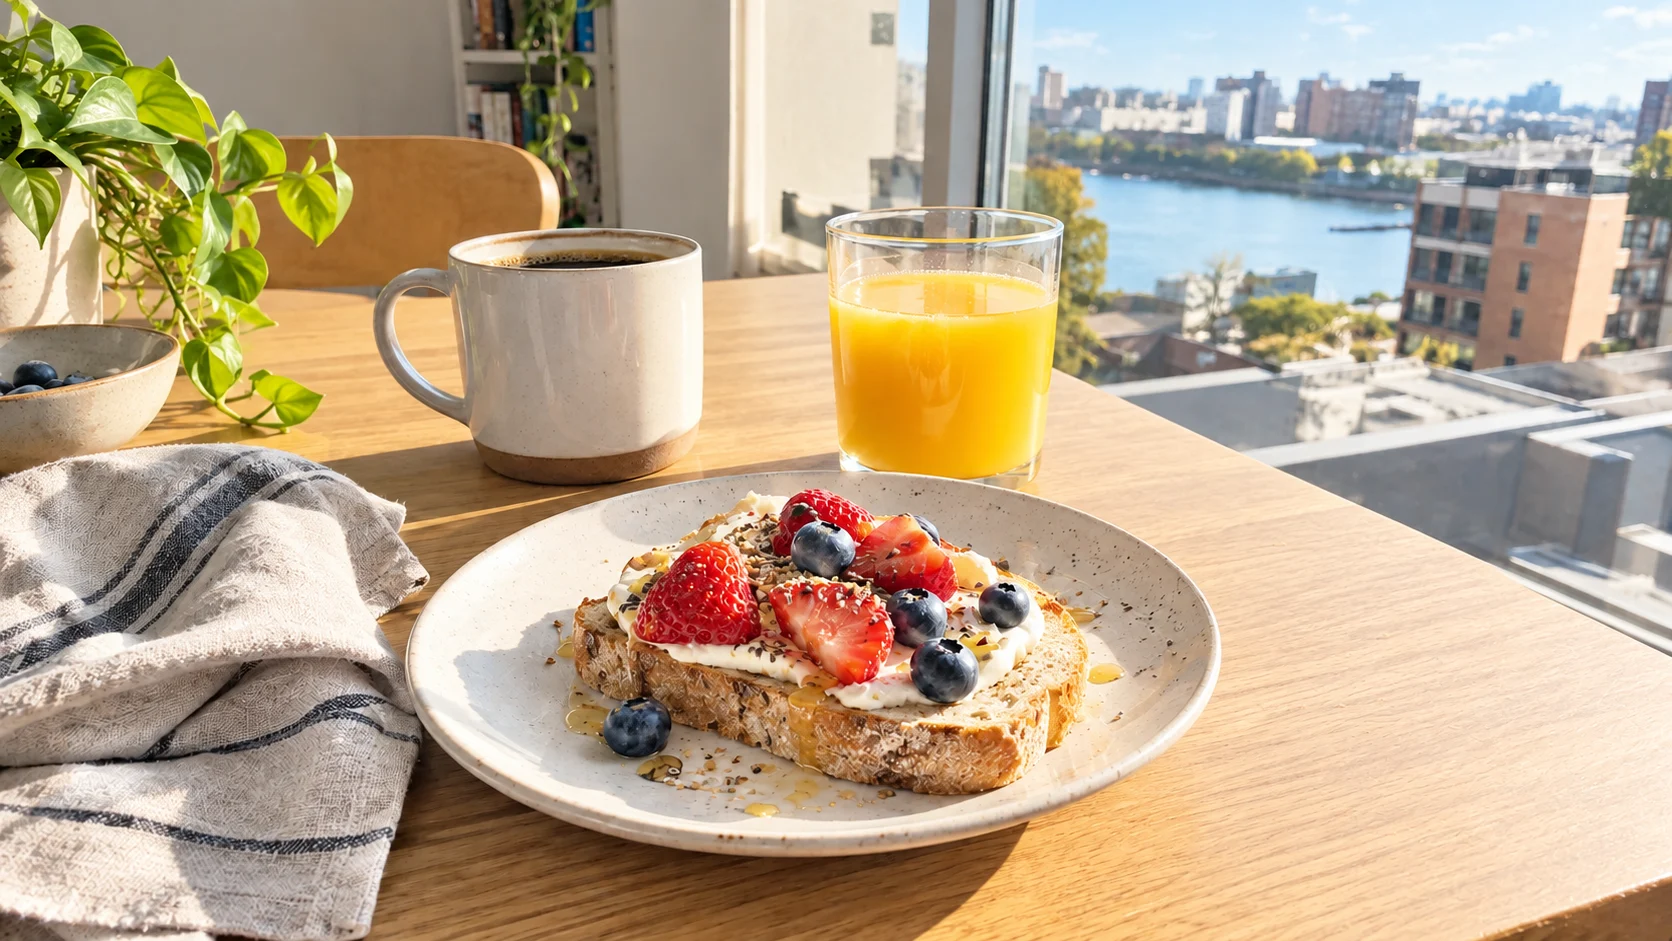
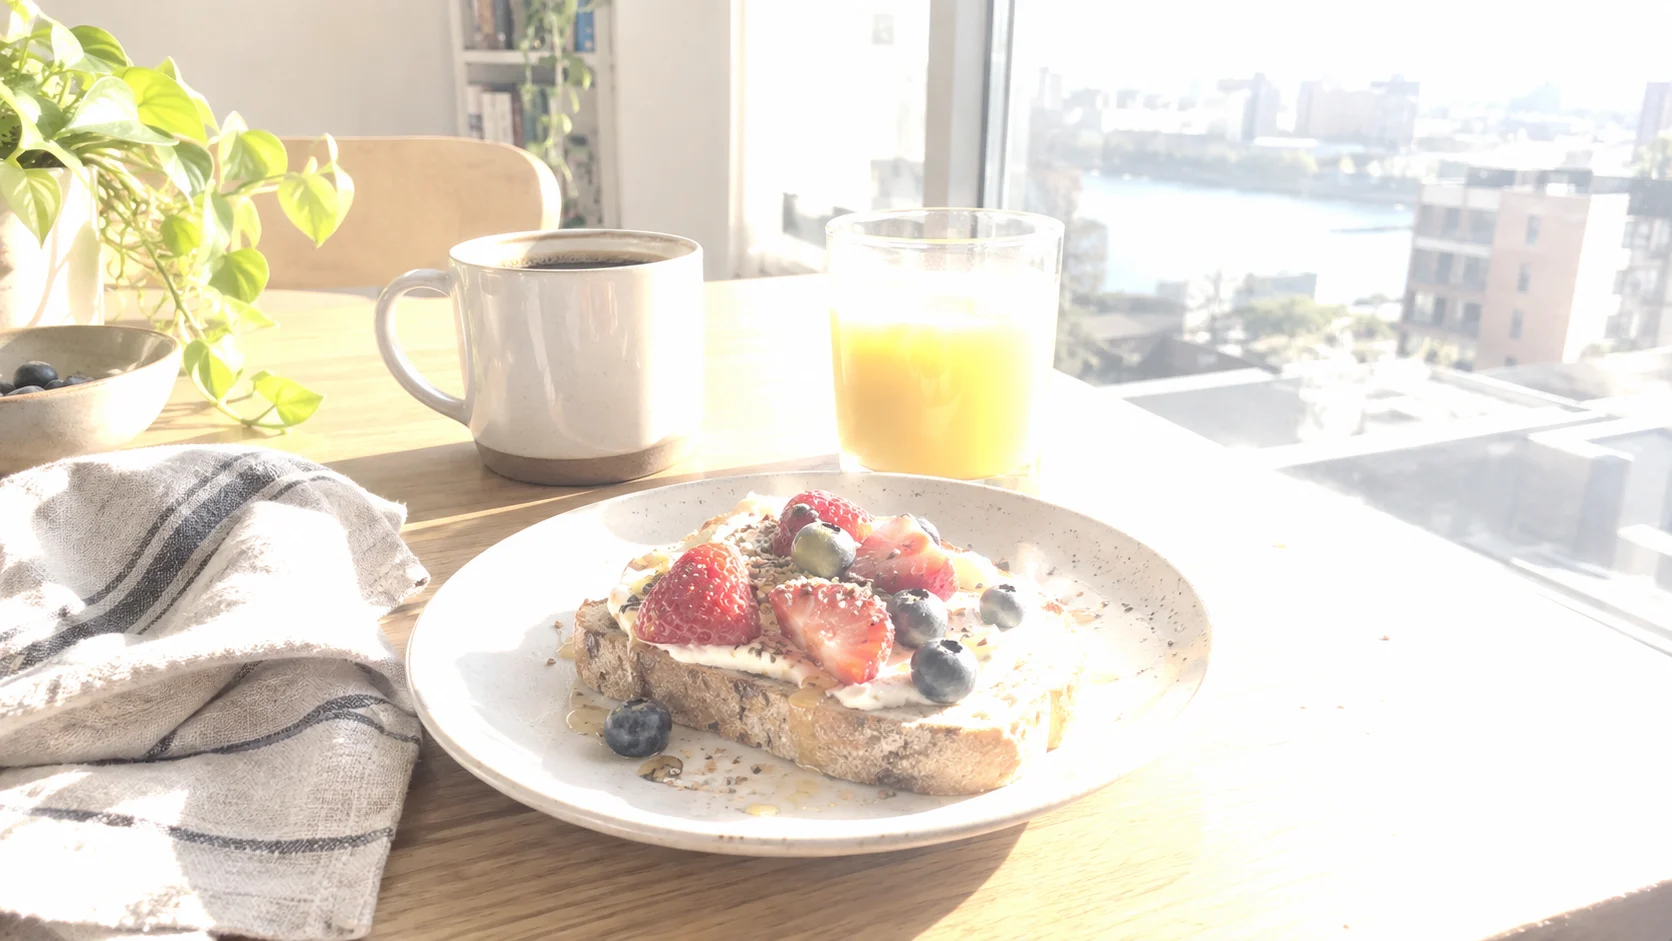


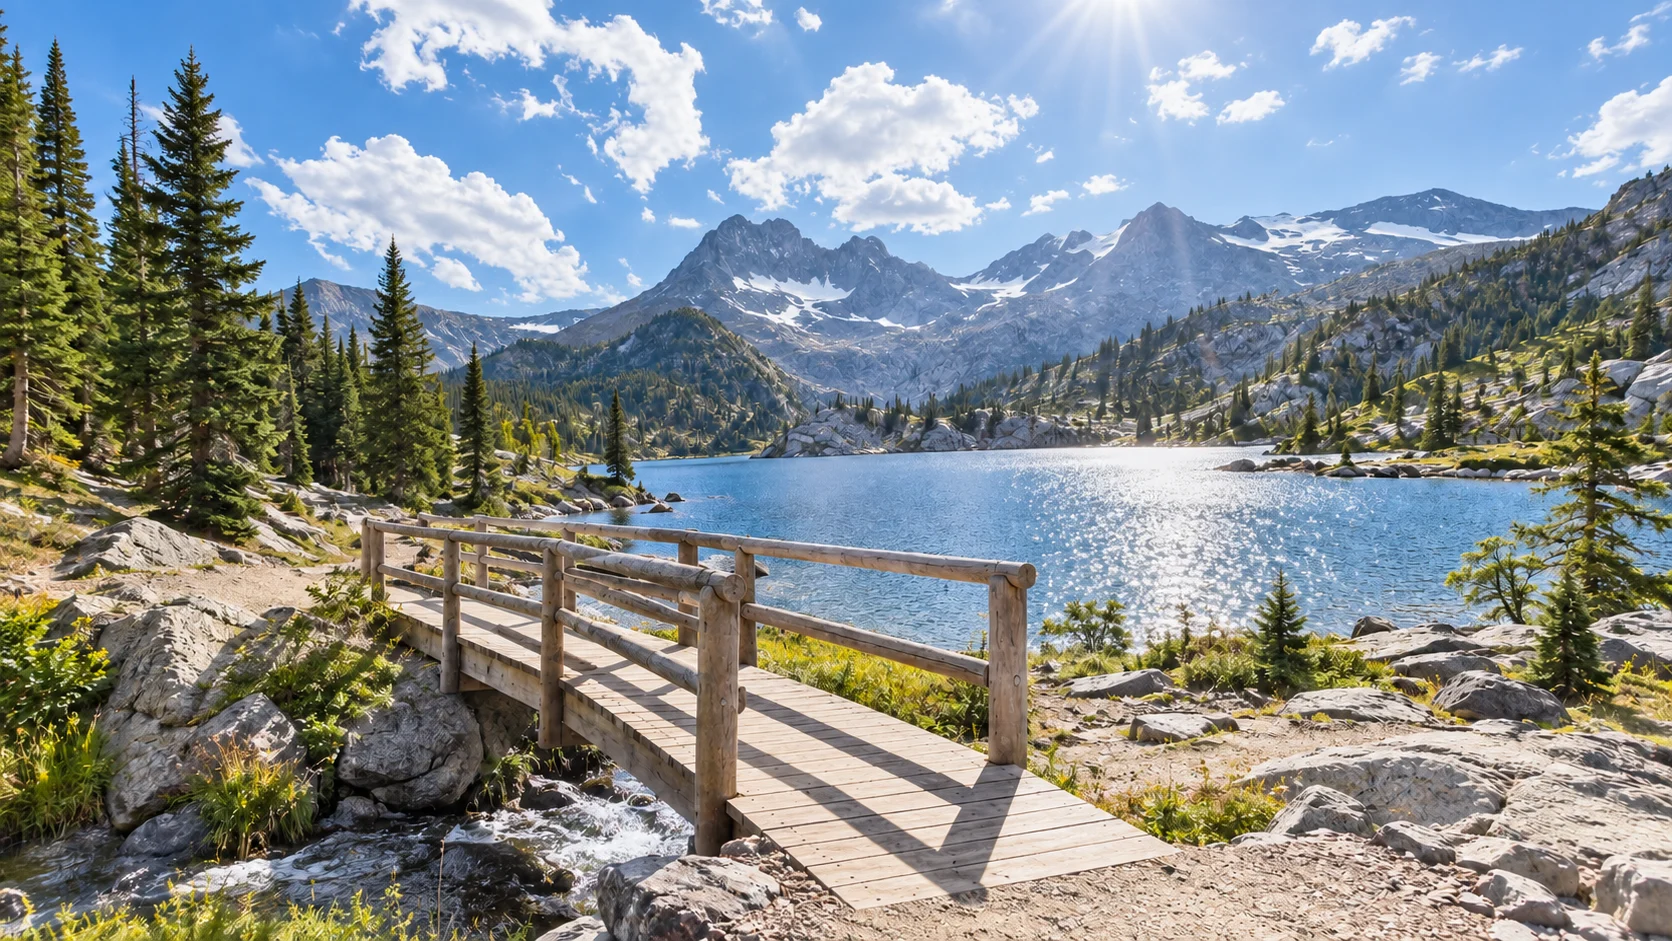
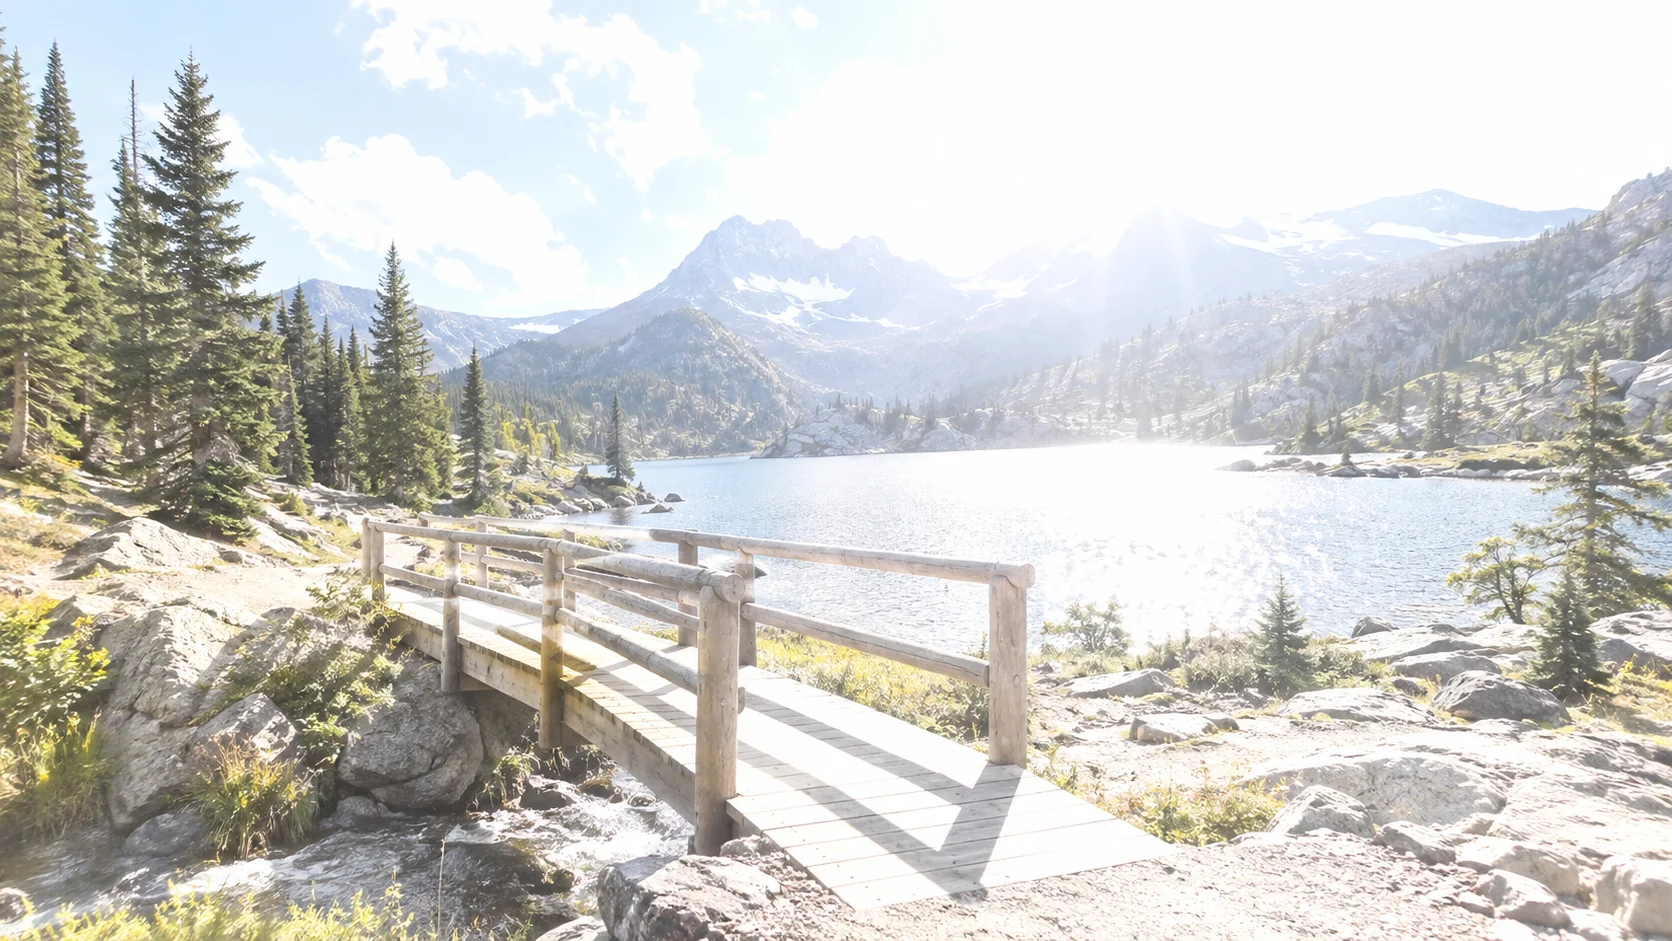
Usually, yes—but the result depends on how much information the camera captured in the brightest areas. Use the original and the comparison preview to judge the correction, not just the overall brightness.
When a bright area still contains tone, color, or texture, an exposure correction can often reveal more of the original scene.
A washed-out photo may still benefit from better contrast and balanced light, even when the result is not a perfect pixel-by-pixel recovery.
A pure-white sky or window has no original detail left to reveal. AI can create a plausible transition, but it cannot verify the exact missing texture.
Too much light can come from a slow shutter speed, a wide aperture, high ISO, direct sun, flash, or a bright background that fools auto exposure. When the histogram is pressed against the right edge, some highlights may retain usable tone; pixels clipped to pure white do not contain original texture for a conventional correction to reveal.
Upload a bright photo, let FixOverexposed AI work on the difficult highlights, then decide what to keep with a clear before-and-after comparison.
Start fixing a photoChoose the best JPG, PNG, or WebP version you have. Keeping the original source gives you a reliable reference while you fix overexposed photos.
FixOverexposed AI is built for overexposed images that need more than a quick brightness slider. Correct bright areas, protect the subject, and inspect every result before you download.
Prefer to edit by hand? Follow a focused workflow for Lightroom, iPhone, Photoshop, or Snapseed, then compare the result with the original.
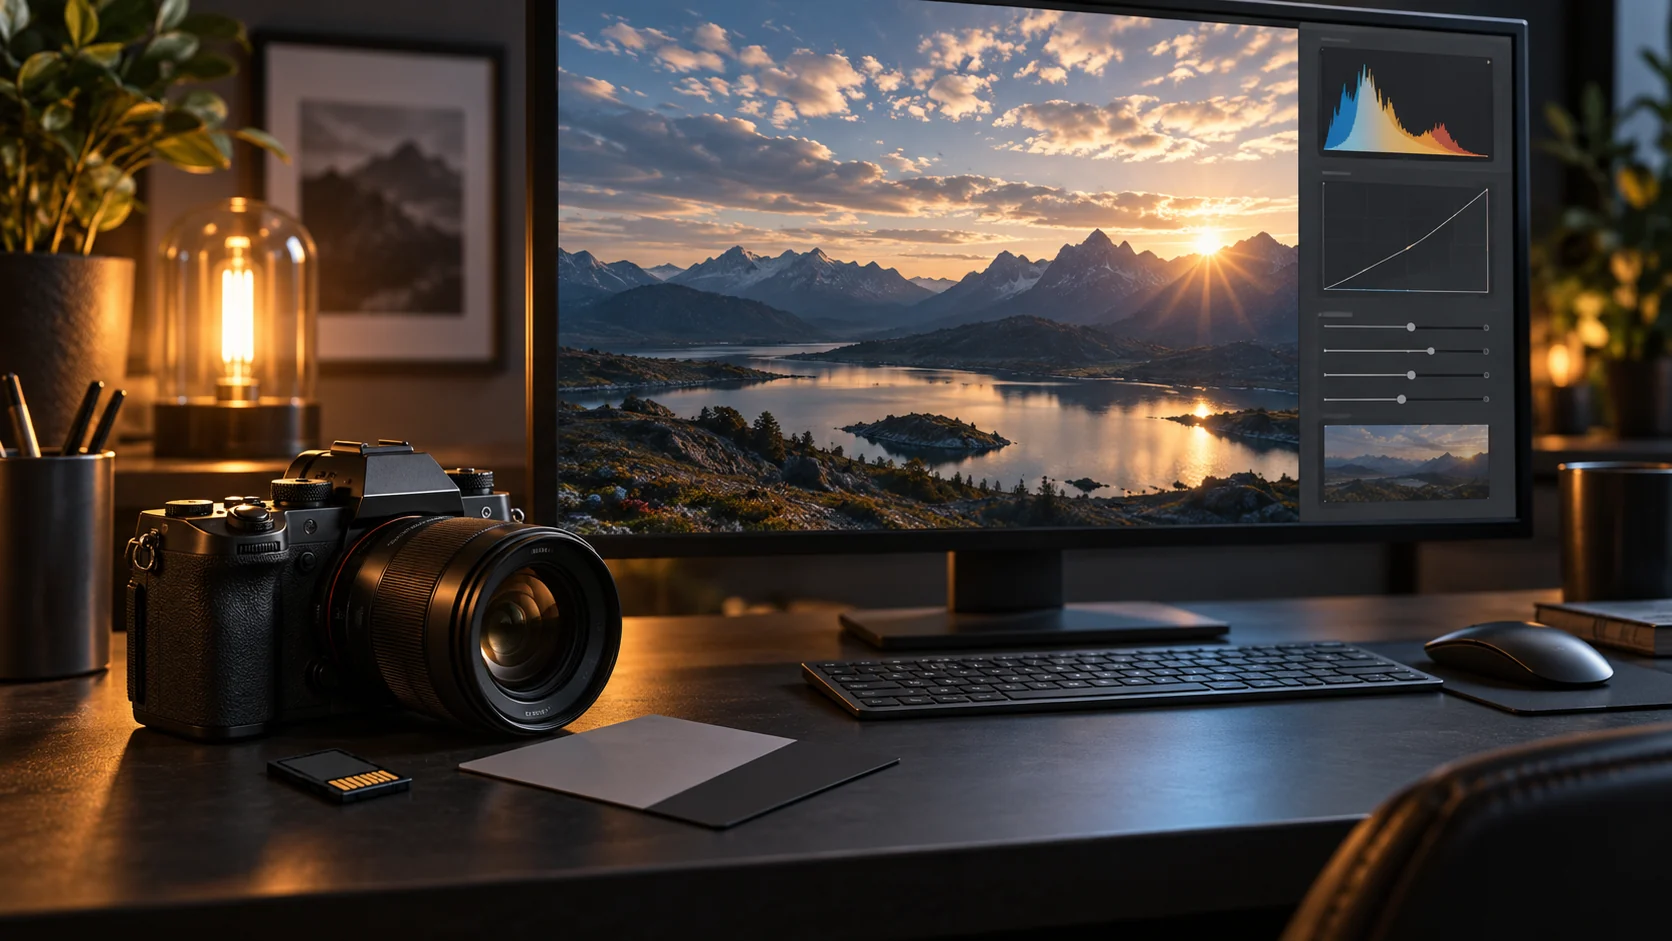
A practical Lightroom workflow for recovering bright highlights, using the histogram, and protecting the rest of the photo.
Read the guide
Use Apple Photos to tone down bright images, recover highlights, and keep the original photo reversible.
Read the guide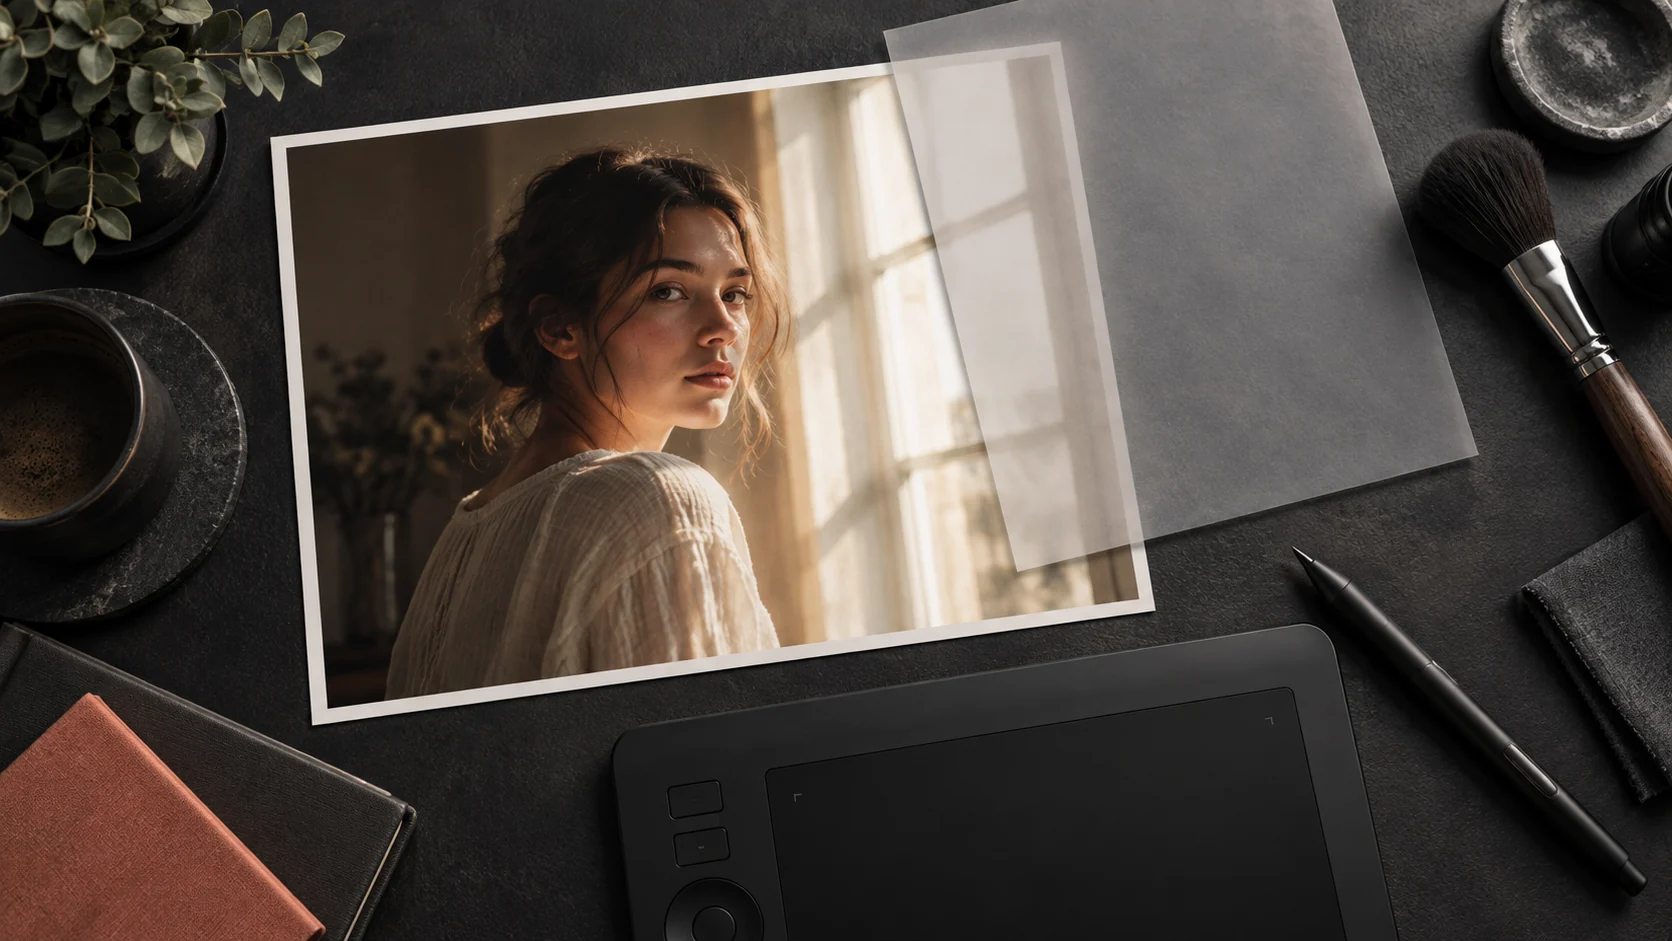
A careful Photoshop workflow using Camera Raw, Curves, and layer masks to control bright areas without flattening the whole photo.
Read the guide
A careful Snapseed workflow using Tune Image, Curves, and Selective adjustments for bright photos.
Read the guideShort, practical answers about recoverability, privacy, accounts, AI use, and familiar manual workflows.
Upload the best-quality JPG, PNG, or WebP you have, choose FixOverexposed AI, and compare the result with the original before downloading.
Light to moderate overexposure can often be corrected when the source still contains tonal and color information. A severely blown, pure-white area can be improved or plausibly rebuilt with AI, but no tool can restore the exact detail that the camera never recorded.
Photos are easiest to improve when bright areas still contain some color or texture. Portraits, outdoor scenes, and window-light photos can all benefit when the subject and the highlights remain distinguishable in the original.
AI can improve the overall look and generate a plausible transition around a fully clipped area, but it cannot recover the exact original pixels. Review faces, text, products, and other details where accuracy matters before downloading.
FixOverexposed AI requires sign-in so the service can apply your 3 free AI fixes, track usage, and keep the resulting job associated with your account.
FixOverexposed AI analyzes bright regions and generates a corrected version while protecting the composition, subject, and natural lighting direction. It may reconstruct subtle, plausible detail in clipped areas, so review faces, products, text, and documentary details before downloading.
In Lightroom, lower Exposure only if the whole frame is bright, then pull Highlights and Whites left while watching the histogram. Use a mask for a bright sky or face instead of darkening everything, and work from RAW when possible. Read the Lightroom checklist
In Apple Photos, open Edit and reduce Exposure and Highlights in small steps, then adjust Brilliance or Shadows to keep the subject readable. Save a copy or use Revert so the original remains available. Read the iPhone checklist
Give your overexposed photo a better starting point. Try FixOverexposed AI, compare the correction with your original, and keep only the result you trust.
3 free AI fixes · Compare before downloading · No credit card required
